Product description
Structural Performance
(1) It is mainly composed of nickel-chromium alloy wires and insulating material, and has fast heating speed, high heat efficiency and long service life.
(2) Alkali-free glass fiber core rack is wound with electric heating wires, fiberglass is used as main insulation, the heat resistance performance is excellent, and the insulation performance is reliable.
(3) It has great flexibility, and can be directly wound on a to-be-heated device, with good contact and uniform heating.
Note: fiberglass heating cable do not have the functions of waterproof and moisture proof .

Pipe Fiberglass Braid Heating Tape
Step 1: Pipe Surface Preparation
Prepare surface to be heated: Wipe the surface making sure there is no foreign material, like liquid, on the surface. Foreign material inhibits heat transfer and liquid can damage select models of heating tape (i.e. HighTemperature Heating Tapes).
Make a visual inspection of heating tape: We recommend that you replace the heating tape if it becomes torn or damaged. Damaged heating tape is a safety hazard and will not operate correctly.
Step 2: Heating Tape Installation (wrap)
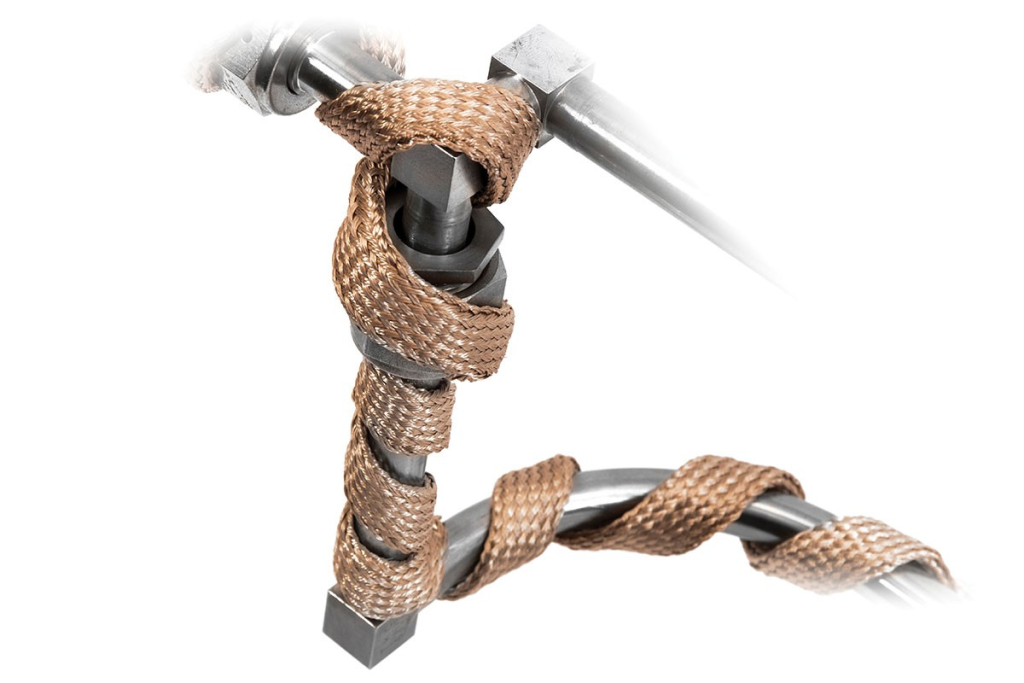
Heating tape can be installed on nearly any surface due to its flexibility. Spiral wrap the heating tape onto the surface to be heated so that the length of one entire side of the heating tape is in full contact with the surface .The distance between spiral wraps is dependent on the uniformity requirements and the amount of available heating tape. A minimum distance of 1/8″ is required between spiral wraps to avoid damage to the heating tape.
Attach the heating tape to the surface by either using built-in tie straps, high-temperature adhesive tape or mechanical clamping devices that will not cause damage to the heating tape.
Ensure the heating tape is not kinked, twisted, or hanging free from the surface.
Do not overlap heating tape on itself.This can cause damage to the heating tape due to overheating.
Step 3: Connecting Your Heating Tape to a Temperature Controlling Device
Your heating tape must be connected to an external temperature control device. Ensure your temperature controller is protected by a properly sized circuit breaker or fuse. Use of a ground fault circuit interrupter is highly recommended and may be required for your installation.
For proper temperature control, secure a thermocouple, RTD, or other sensing device with one strip of adhesive tape so that it is in close proximity to the heater to prevent overheating.